How to Use Pre-Drilling and Countersinking for Cleaner Furniture Assembly
We've all been there. You’re building a shelf. You skip the prep work because you want to finish before dinner. You drive that screw straight into the board. Crack. A massive split runs right down the middle of your perfectly good lumber. That sound? That’s the sound of laziness ruining your project. Pre-drilling wood isn't just a suggestion. It's the absolute baseline for clean furniture assembly. Wood needs room to breathe. When you force a thick screw into solid grain without making space first, the wood has nowhere to go but outward. Hence, the split.
The Anatomy of a Perfect Pilot Hole
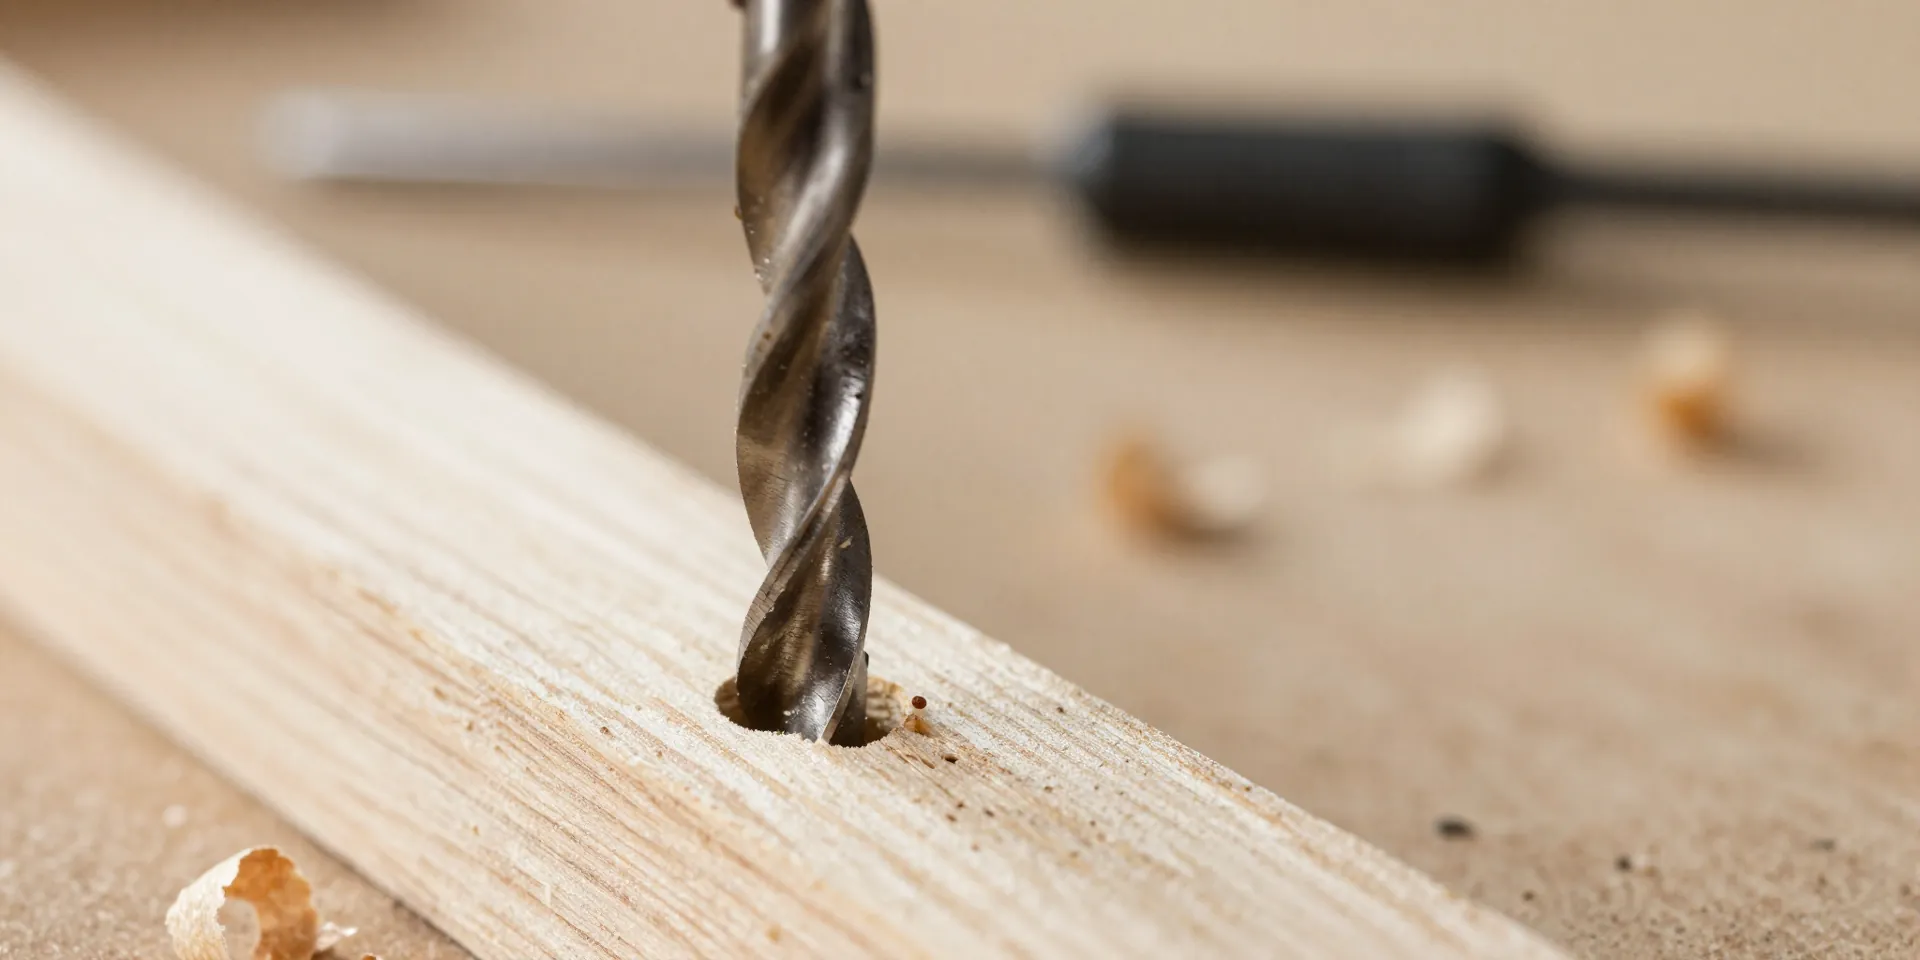
So, what’s the fix? You make a tunnel. That’s all pre-drilling really is. You're creating a pilot hole slightly smaller than your screw's threads. The threads still have enough meat to bite into and hold the joint tight. But the solid core of the screw? It slides right into the empty space you just drilled. No pressure. No splitting. Just a smooth, buttery drive. For beginner woodworking, this is the single most important habit you can build. Grab a drill bit that matches the solid shaft of your screw, ignoring the threads. Drill straight down. You just saved your project.
Countersinking Screws Like a Pro
Now let’s talk aesthetics. A screw head sticking up like a metal pimple on your nice new coffee table looks cheap. It screams amateur hour. Enter the countersink. This little cone-shaped bit carves out a shallow crater at the top of your pilot hole. Why? So the bugle head of your wood screw can drop down and sit perfectly flush with the surface. Or even slightly below it. Run your hand over the joint. Smooth. Flat. Professional. It takes an extra five seconds per hole and upgrades the entire look of your build.
The Two-in-One Bit Cheat Code
You might be thinking this sounds like a lot of tool swapping. Drill a hole. Change the bit. Countersink the top. Change the bit again to drive the screw. Exhausting. Here's a secret. Buy a combination countersink bit. It does both jobs simultaneously. It drills the pilot hole and carves out the cone shape at the exact same time. Set the depth collar to match your screw length, and you're golden. Every single hole will be perfectly uniform. It's practically cheating.
Putting It Together Without the Panic
Let's assemble. Clamp your pieces together tightly. Don't trust your hands to hold everything perfectly square. Drill your combined pilot and countersink hole through the top piece and right into the adjoining piece. Switch to your driver bit. Drive the screw in. Slow down right before the end. Let the screw pull the two pieces tight. Stop exactly when the head hits the bottom of your countersink crater. Done. A seamless, rock-solid joint. No glue mess, no cracked boards, no ugly hardware sticking out. Just clean furniture assembly that looks like you actually know what you're doing.